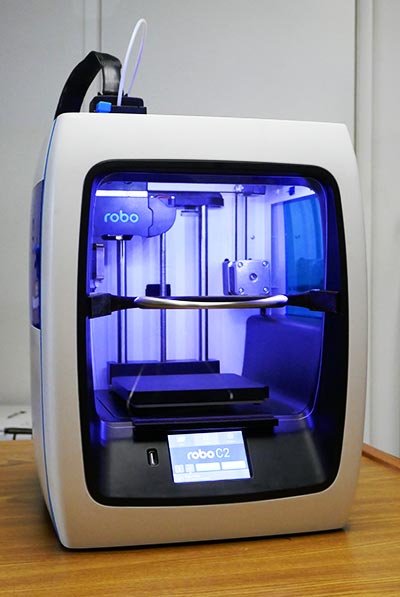
Robo C2 Front Cover
While a front cover like the R2 is not that important for most prints, it does offer some benefits:
- May reduce curl on large objects by keeping the heat more consistent (unconfirmed)
- Reduced noise from front (only about 2 db, but a noticeable reduction)
- Keep some dust out (although top is open)
- Easy to remove
- No visible changes to C2 when removed
- Ready for future heated bed and use of ABS
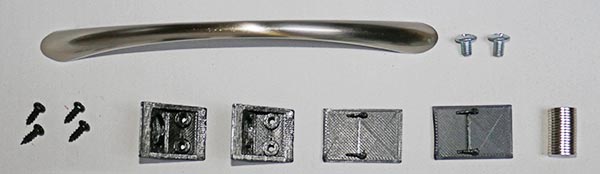
Parts
- Acrylic sheet 0.093" thick, 10" x 14" sheet
- Enhanced Pull - 128mm, various colors (I used Satin Nickel)
- Black Robo PLA (or other color as desired)
- Qty 4, #4 self tapping screws, 1/4" long
- Magnets 2mm x 10mm (4 needed, comes in 25 pack, or double up 1mm x 10mm magnets)
- Epoxy to hold magnets
Acrylic Cover
Making the unusual shaped cover is likely the hardest part of the project.
- Print on paper this template and adjust the height to 235 mm and the widest part to 227mm. Double click on photo for larger version.
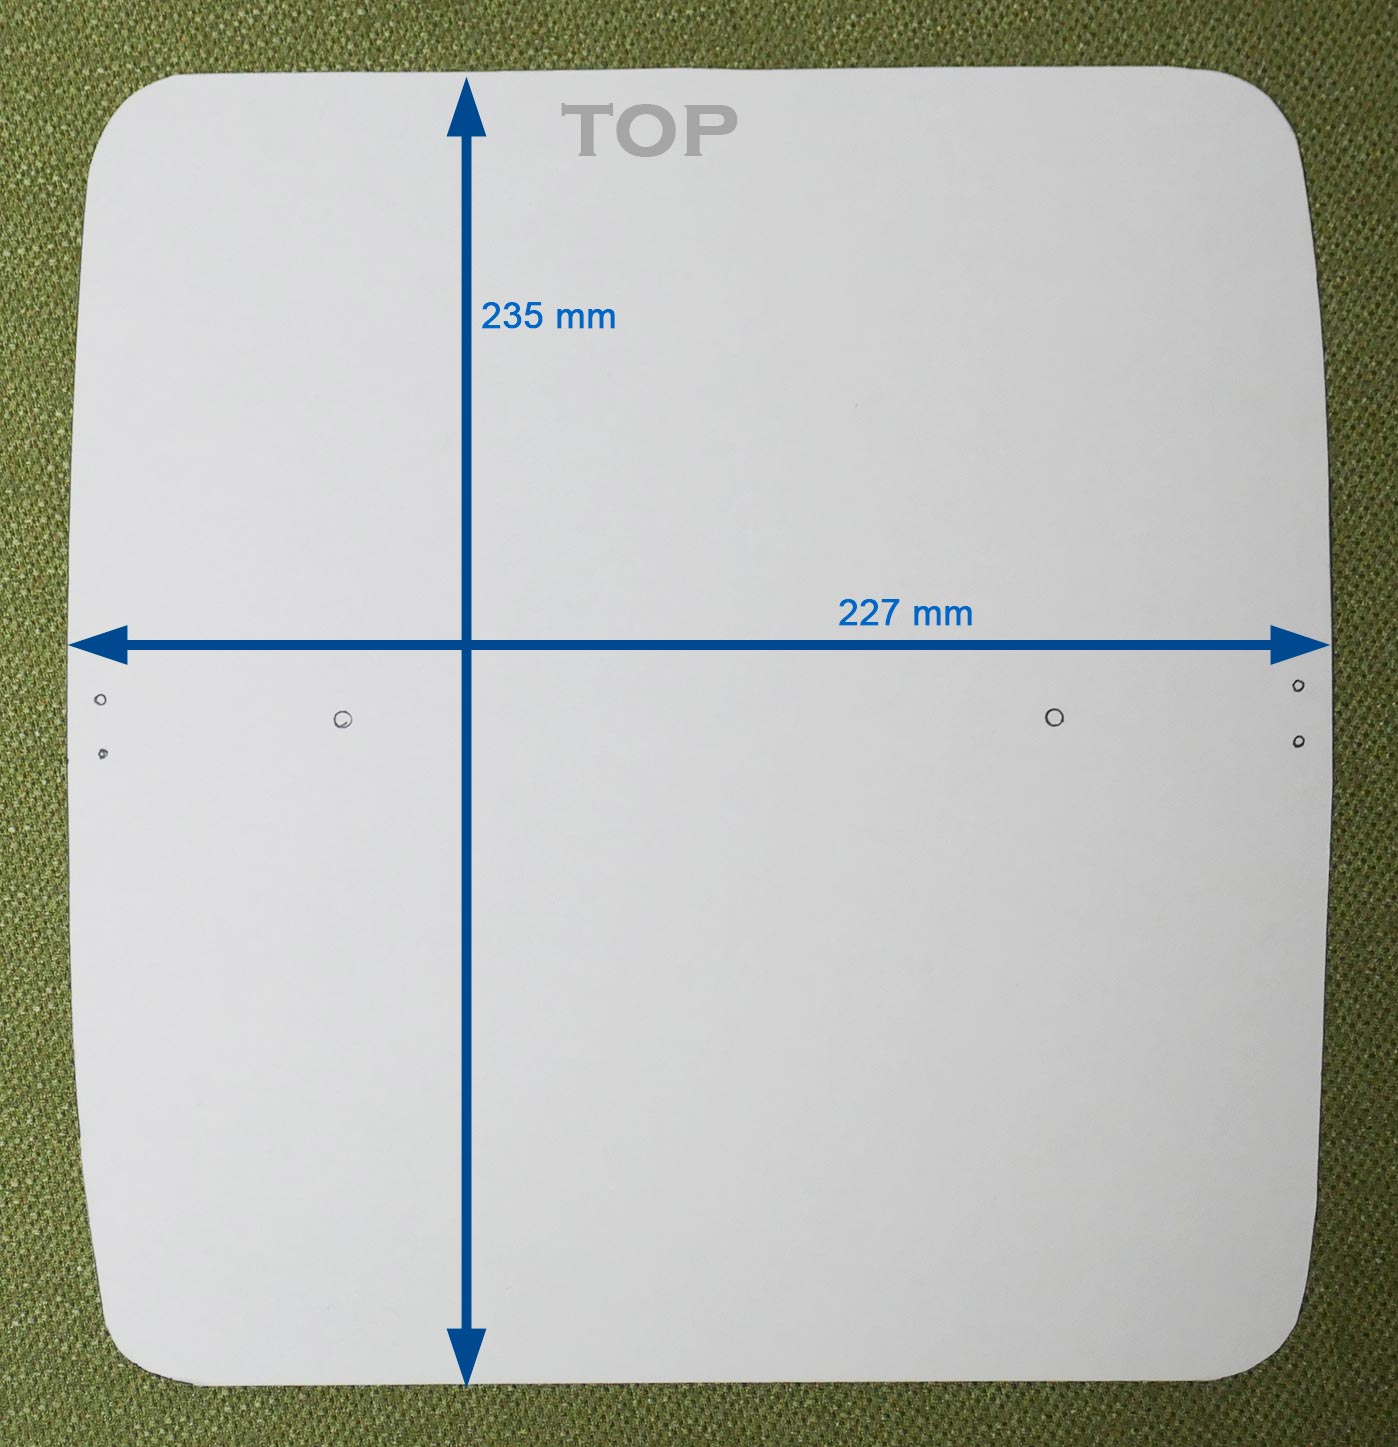
- Optional step: Copy the template to cardboard and cut out the template, and confirm it fits in your C2. It is designed to be larger in height than the opening.
- Transfer the template to the Acrylic sheet
- Cut out the cover. I used a table saw, but a scroll saw might work better. Go slowly so the plastic does not melt.
- Sand the edges lightly.
- Confirm the fit.
Printing Parts
There are 3 required printed parts, and up to 5 additional optional parts to make it look nicer. I printed most at normal, the bottom at low quality, and the covers at high quality. Solid infill on all as well. Download the associated .stl files. The pictures below are not to a consistent scale.
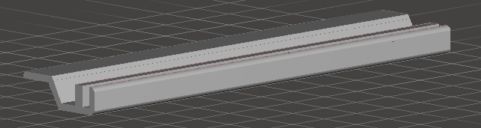
- Required - Front center side (print 2 copies)
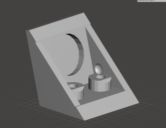
- Required - Bottom (In Cura, turn the part vertical so it fits)
- Optional - Front center covers (print 2 copies)
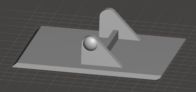
- Optional - Pull handle strain relief bracket (In Cura, turn the part 45 degrees diagonally so it fits)

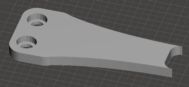
- Optional - Side strain relief bracket (print 2 copies)
Assembly
The assembly should be fairly easy.
- Epoxy each magnet into the front center side parts. Push the magnet in so they are as close as possible to the frame. Let dry 8+ hours.
- On the screws that came with the handle pull, cut the length to 5/16" or 8mm.
- Drill holes in the acrylic for the handle and the sides. I recommend a drill press and go slowly to not melt/crack the plastic. I broke the first acrylic sheet when attempting to drill the side holes that are close to the edge with a power hand drill.
- Mount the sides, handle, and bottom to the acrylic sheet.
- On the C2, snap out the front black frame. Pull from the top, and then work the sides. Disconnect the display and USB cable.
- With the cover in place, there should be minimal gap at the top and sides. Using painters tape, I taped it into place.
- Dry fit a magnet on each side of the frame that will be used to hold the cover in place. These will NOT be visible when the frame is back in place.
- Mark the magnet's placement (I used a silver Sharpe pen and made 4 dots around the magnet's location). Also mark the magnet, specific to each side, as the North/South orientation may be different on each side of the frame.
- Epoxy the two side magnets and let dry, 8+ hours.
- Remove the tape and the cover. Reattach the USB and display connectors. Be sure the display connector is centered and the correct orientation as it is not keyed. Snap the Robo frame back in place.
- The cover should fit snuggly with the magnets holding it in place.
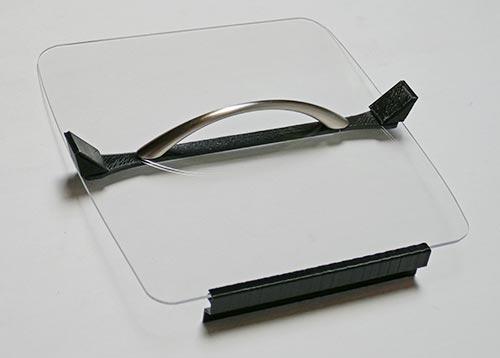
Conclusion
I'm happy with the results. The cover is easy to remove and insert and the noise level is reduced in use.